

DIY Wedding Decor Ideas: Easy and Beautiful Decorations You Can Make Yourself

Wedding decor can eat up a budget fast, and half the time, the prettiest details are the simple ones anyway. A handful of candles, a thoughtful sign, a few flowers in the right place, and suddenly the whole room feels personal.
The trick is choosing projects that look beautiful without taking over your life. Some DIY wedding decorations are totally worth making yourself. Others can turn into glue-gun chaos three nights before the wedding.
Here are easy, good-looking ideas that feel special, photograph well, and won’t require a craft room full of supplies.

Start with the decor that guests will notice most
Before buying ribbon, vases, faux greenery, and every cute thing in sight, pick a few high-impact spots. That keeps the DIY work manageable and helps the whole wedding feel more pulled together.
Focus on these areas first:
Ceremony backdrop
Aisle decor
Guest tables
Welcome table
Bar or dessert table
Photo area
You don’t need to decorate every corner. If the ceremony space, tables, and entry point look intentional, guests will feel the style right away.
A good rule: choose one main material and repeat it. That could be baby’s breath, taper candles, linen fabric, wood, glass jars, pearl details, or dried flowers. Repeating the same element makes simple decor look planned instead of random.
For example, if you use glass bud vases on the tables, add a few to the welcome table and bar. If you use ivory ribbon on the ceremony chairs, tie the same ribbon around your bouquet or favor tags. Small repetition does a lot.
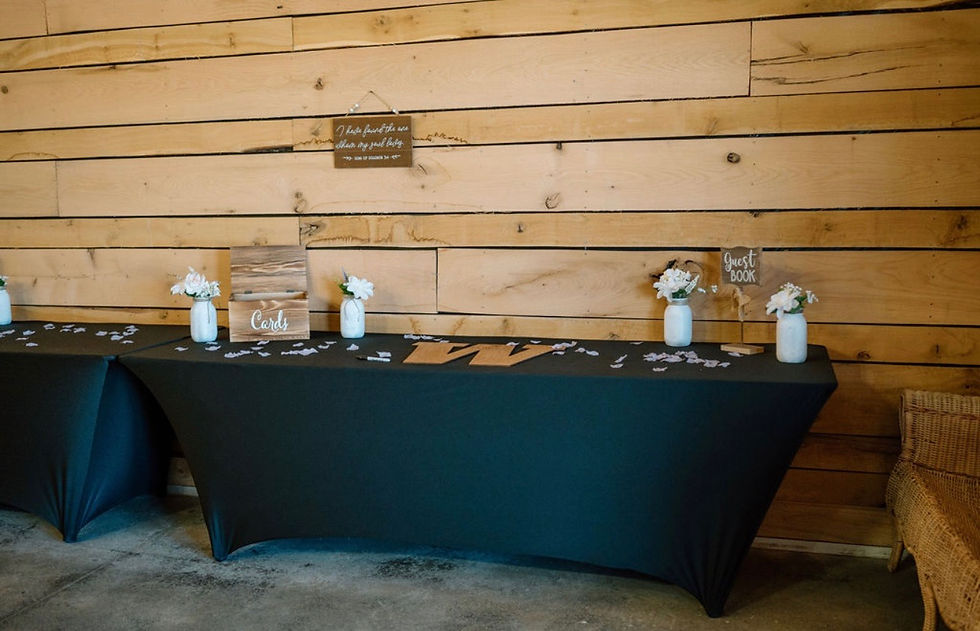
Make easy centerpieces that still feel elegant
Centerpieces are one of the easiest DIY wedding decor projects because they don’t need to be complicated. In fact, low, simple centerpieces often work better because guests can actually see each other across the table.
Here are a few easy ideas that look polished.
Bud vases with single stems
Collect small glass vases in different shapes, then add one to three stems in each. Use flowers like roses, ranunculus, tulips, carnations, eucalyptus, or baby’s breath.
Group three to five vases per table. Add votive candles around them and you’re done.
This works especially well because you don’t need floral design skills. Each vase is tiny, so even beginner arrangements look sweet.
Candles and greenery
Use a runner of greenery down the center of long tables, then add candles in mixed heights. For round tables, make a loose ring of greenery around a cluster of candles.
Use flameless candles if your venue doesn’t allow open flames. The warm glow still looks beautiful, especially for evening receptions.
Tip: Ask the venue what’s allowed before buying anything. Some places have strict rules about flames, confetti, hanging decor, or fresh petals.
Painted bottles or jars
Save glass bottles or jars, remove the labels, and paint them in your wedding colors. Matte white, champagne, terracotta, sage, and soft blue all work well.
Use them as vases, table number holders, or candle holders. To keep them from looking too crafty, stick to one or two paint colors and use the same finish on all pieces.
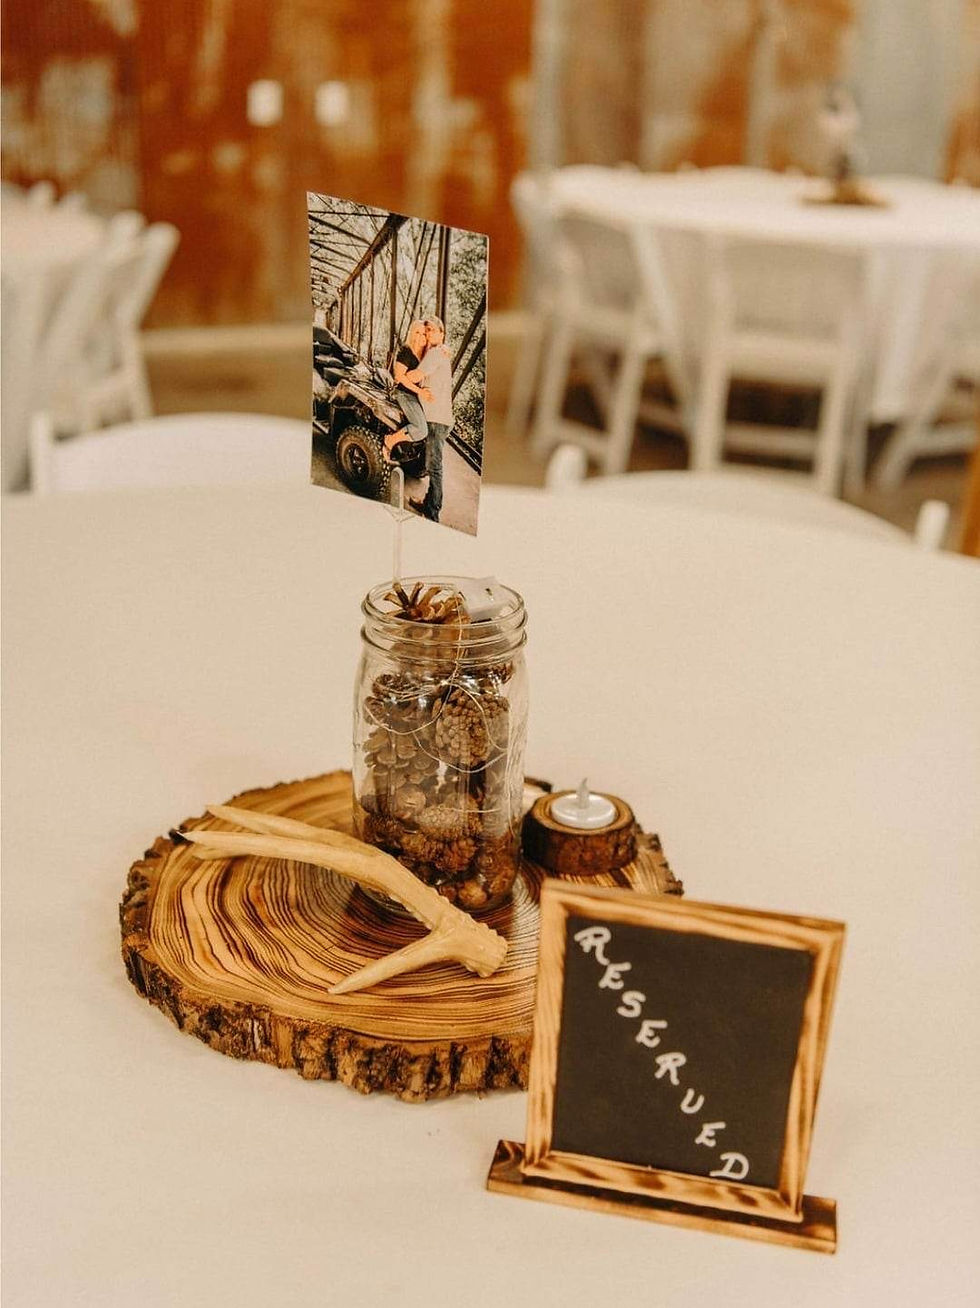
Create signs that look custom without costing much
Wedding signs are useful and decorative, which makes them perfect for DIY. You can make them as simple or fancy as you want.
Start with the signs you truly need:
Welcome sign
Seating chart or table assignment sign
Bar menu
Guest book sign
Cards and gifts sign
Unplugged ceremony sign, if you want one
The easiest version is a printed design in a frame. Create a simple layout using your wedding fonts and colors, print it at home or through a local print shop, and place it in a thrifted or inexpensive frame.
For a more handmade look, use:
Acrylic sheets with paint pens
Wood boards with vinyl letters
Chalkboards with white marker
Mirrors with removable lettering
If handwriting makes you nervous, don’t force it. Printed signs can look just as beautiful. The key is consistency. Use the same font style, border, and color palette for every sign.
Acrylic signs are popular for a reason, but they can show smudges. Keep a microfiber cloth in your decor box for quick touch-ups on the wedding day.

Add personal details that don’t feel cheesy
The best DIY wedding details say something about the relationship without turning the entire reception into a scrapbook. Pick one or two personal ideas and let them shine.
Try one of these:
A memory table
Set up framed photos of family weddings, loved ones, or favorite relationship moments. Add a small sign and a few candles or flowers.
Keep the display clean by using matching frames. Black, gold, silver, or natural wood frames are easy to find and make different photos feel connected.
Custom table numbers
Instead of plain numbers, add a personal detail to each table. You could use favorite places, meaningful years, pet photos, song titles, or travel memories.
For example, Table 1 could feature the city where you met, Table 2 could be the first trip together, and Table 3 could be the proposal spot.
Handwritten notes
If you want something guests will remember, write short notes for place settings. They don’t have to be long. Even one or two lines can feel incredibly thoughtful.
This takes time, so only do it if the guest count is small enough to enjoy the process. A rushed note-writing marathon won’t feel romantic.

Keep the easiest DIY wedding decor projects for last
Some projects are perfect for the final weeks because they’re simple, portable, and hard to mess up. If you’re wondering how to DIY wedding decor without getting overwhelmed, these are the safest bets.
Ribbon chair ties
Tie ribbon or fabric strips to ceremony chairs, aisle chairs, or sweetheart table chairs. Use chiffon, satin, velvet, or linen depending on your style.
Let the ribbon hang loose for a soft look. Add a small sprig of greenery if you want something extra.
Favor tags
If you’re giving favors, make simple tags with names, initials, or a thank-you message. Tie them on with twine or ribbon.
You can also skip physical favors and use the tag idea for welcome bags, dessert boxes, or late-night snacks.
Petal cones
Roll paper into cones, secure with tape or glue, and fill with petals, dried lavender, or biodegradable confetti if your venue allows it.
Place them in a basket near the ceremony entrance. It’s cute, practical, and easy to assemble while watching a movie.
Simple photo display
Clip printed photos to twine with mini clothespins, or place them in frames on a table. This works well for cocktail hour, a guest book table, or a cozy lounge area.
Choose photos that are easy to see from a few feet away. Tiny, dark phone pictures won’t have the same effect.

Make a plan so DIY stays fun
DIY can save money, but only if it doesn’t cost every free weekend and your last bit of patience. The goal is a wedding that feels personal, not a living room full of half-finished crafts.
Before starting, write down:
What you’re making
How many you need
What supplies you need
Who can help
When each project must be finished
How everything will get to the venue
Do one test version before buying supplies in bulk. A centerpiece might look perfect in your head, then feel too small on an actual table. A sign might need a bigger font. A ribbon color might look different in person.
Also, make a wedding-day setup box. Include scissors, tape, glue dots, fishing line, safety pins, extra ribbon, a lighter for candles, batteries for flameless candles, and a printed setup guide with photos.
Most of all, know when to stop. If a DIY project starts feeling stressful, simplify it. Buy the candles. Use fewer flowers. Print the signs instead of hand-lettering them. No guest will know what version you almost made.
The easiest DIY wedding projects are the ones that fit your time, budget, and style. Pick a few details that matter, repeat them well, and let the rest breathe. A beautiful wedding doesn’t need endless decor. It needs a few thoughtful touches that feel like you.



Comments